Improv Dresden Squares // Tutorial

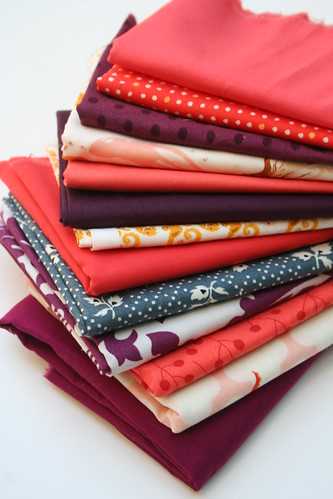
I am happy to share my Dresden Squares Tutorial today. I used a dresden ruler (the EZ Dresden Ruler designed by Darlene Zimmerman) to make 6.5 inch "faux improv" squares. Combining the precision of the dresden ruler with randomly cut squares is a simple way to ease into improv piecing for those who are hesitant to try improv but like the look. And of course, if you feel completely comfortable with improv sewing, this is a fun block construction method that looks much more complicated than it is.Supplies Needed for Dresden Squares Baby Quilt Finished quilt: 36 1/2'' x 42 1/2''(smaller than quilt shown)10-15 prints & solids; scraps, FE, and FQs all work1 yard solid for border1 1/4 yard for backing1/4 yard for bindingbatting1. Select 10-15 prints and solids in a range of colors and values.
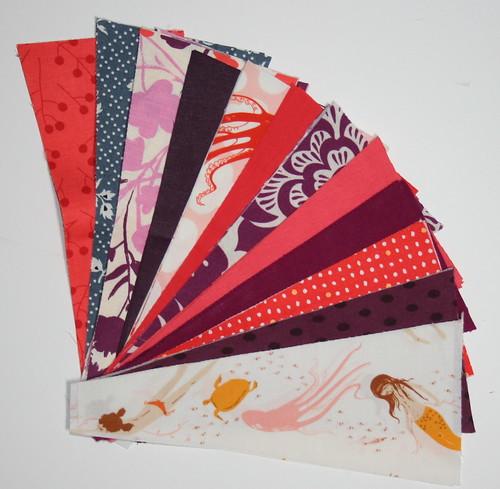
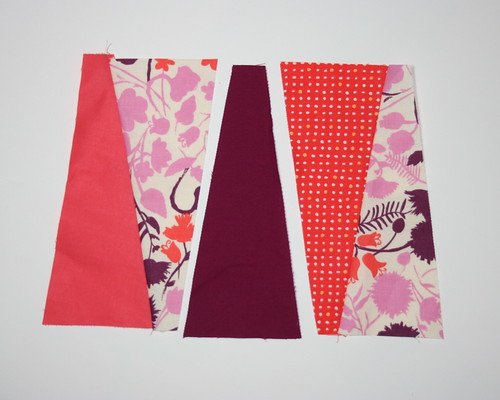
2. Layer fabric and use an 8'' dresden ruler to cut wedges. This quilt uses 20 Dresden Squares.; refer to the chart below if you want to make an alternate number of blocks. I cut four dresdens at a time and individually fussy cut the Mendocino mermaids & octopi (a long out of print collection designed by Heather Ross).
|
Dresden Squares
|
Dresden Wedges Needed
|
|
4 blocks
|
16-18 wedges
|
|
8 blocks
|
32-34 wedges
|
|
12 blocks
|
48-52 wedges
|
|
16 blocks
|
64-68 wedges
|
|
20 blocks
|
80-84 wedges
|
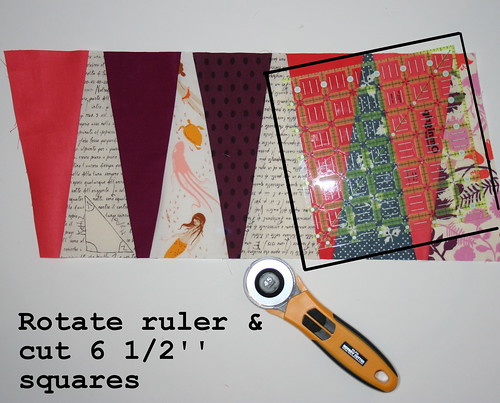
5.Use a square or regular ruler to cut the wedge strips into 6 1/2'' squares. Rotate the ruler in different directions as you go. If you end up with an extra dresden or two after cutting your squares, sew them onto the end of a different row of dresdens.
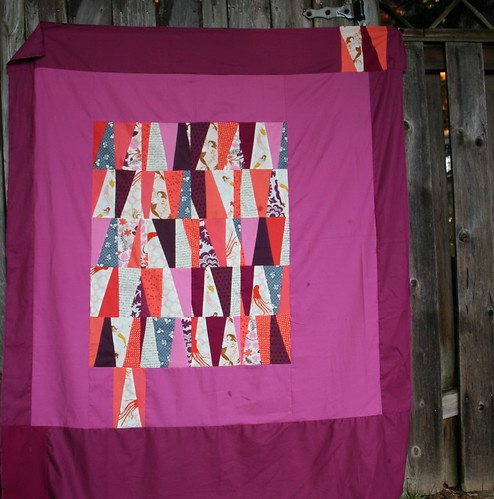
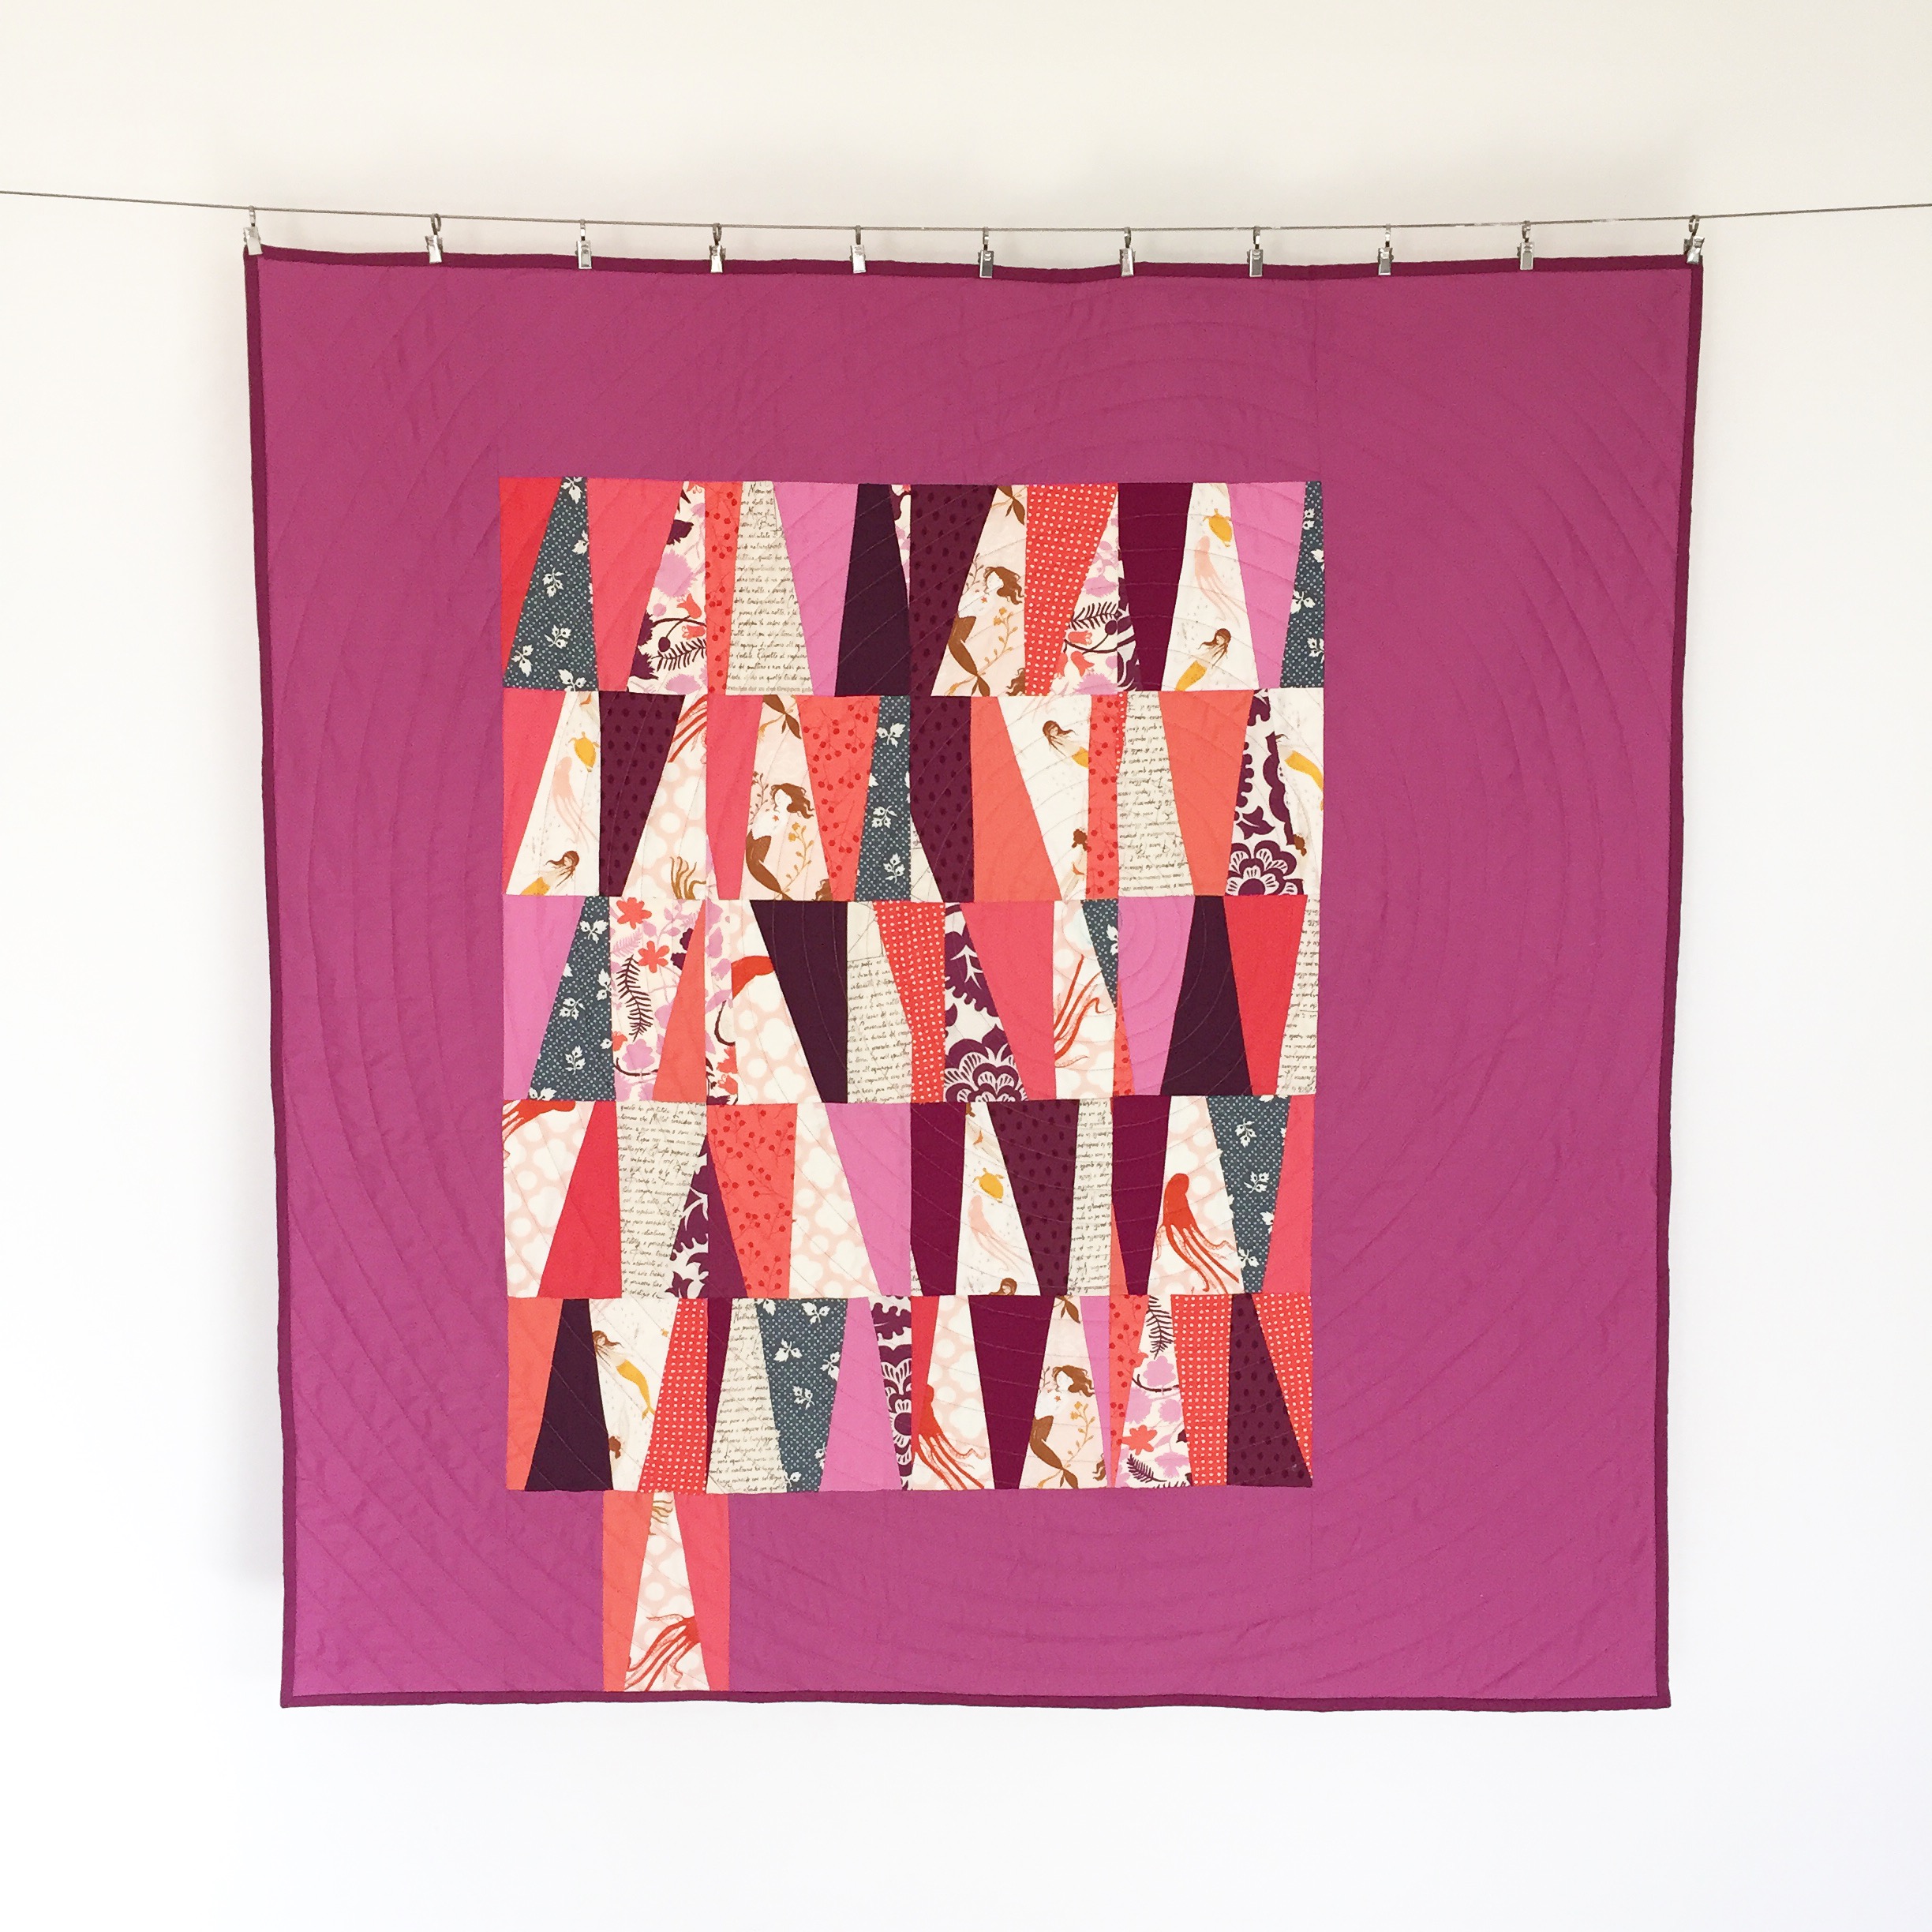
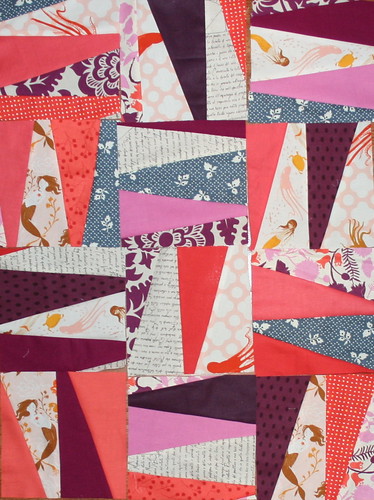
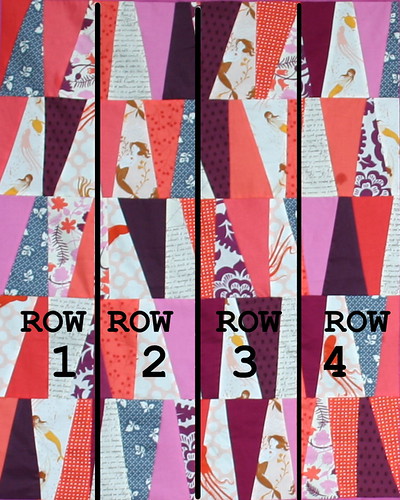
6. Repeat steps 3-5 until you have the desired number of Dresden Squares.7. Play around with the layout of your Dresden Square blocks. Once you find a layout you like, sew the blocks together in vertical rows. Press the blocks in each row. Tip: Press all of the blocks in row 1 towards the bottom, press blocks in row 2 towards the top, press blocks in row 3 towards the bottom, etc. If you alternate the way you press the blocks by row, when you pin the rows together, the seams will "lock" with the two seams going in alternate directions. This quilt top is a 4x5 block construction; it measures 24 1/2'' x 30 1/2''.
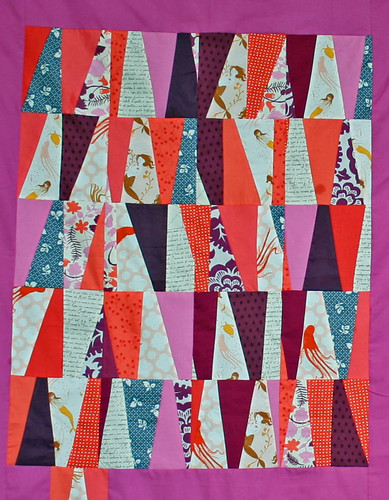
9. Adding your borders. Tip: I find that my borders are more likely to be square/less wavy if I cut border strips to size before I start sewing. For a 36 1/2'' x 42 1/2'' quilt with uniform borders, cut two borders that are 6 1/2'' x 24 1/2'' and two borders that were 6 1/2'' x 36 1/2''.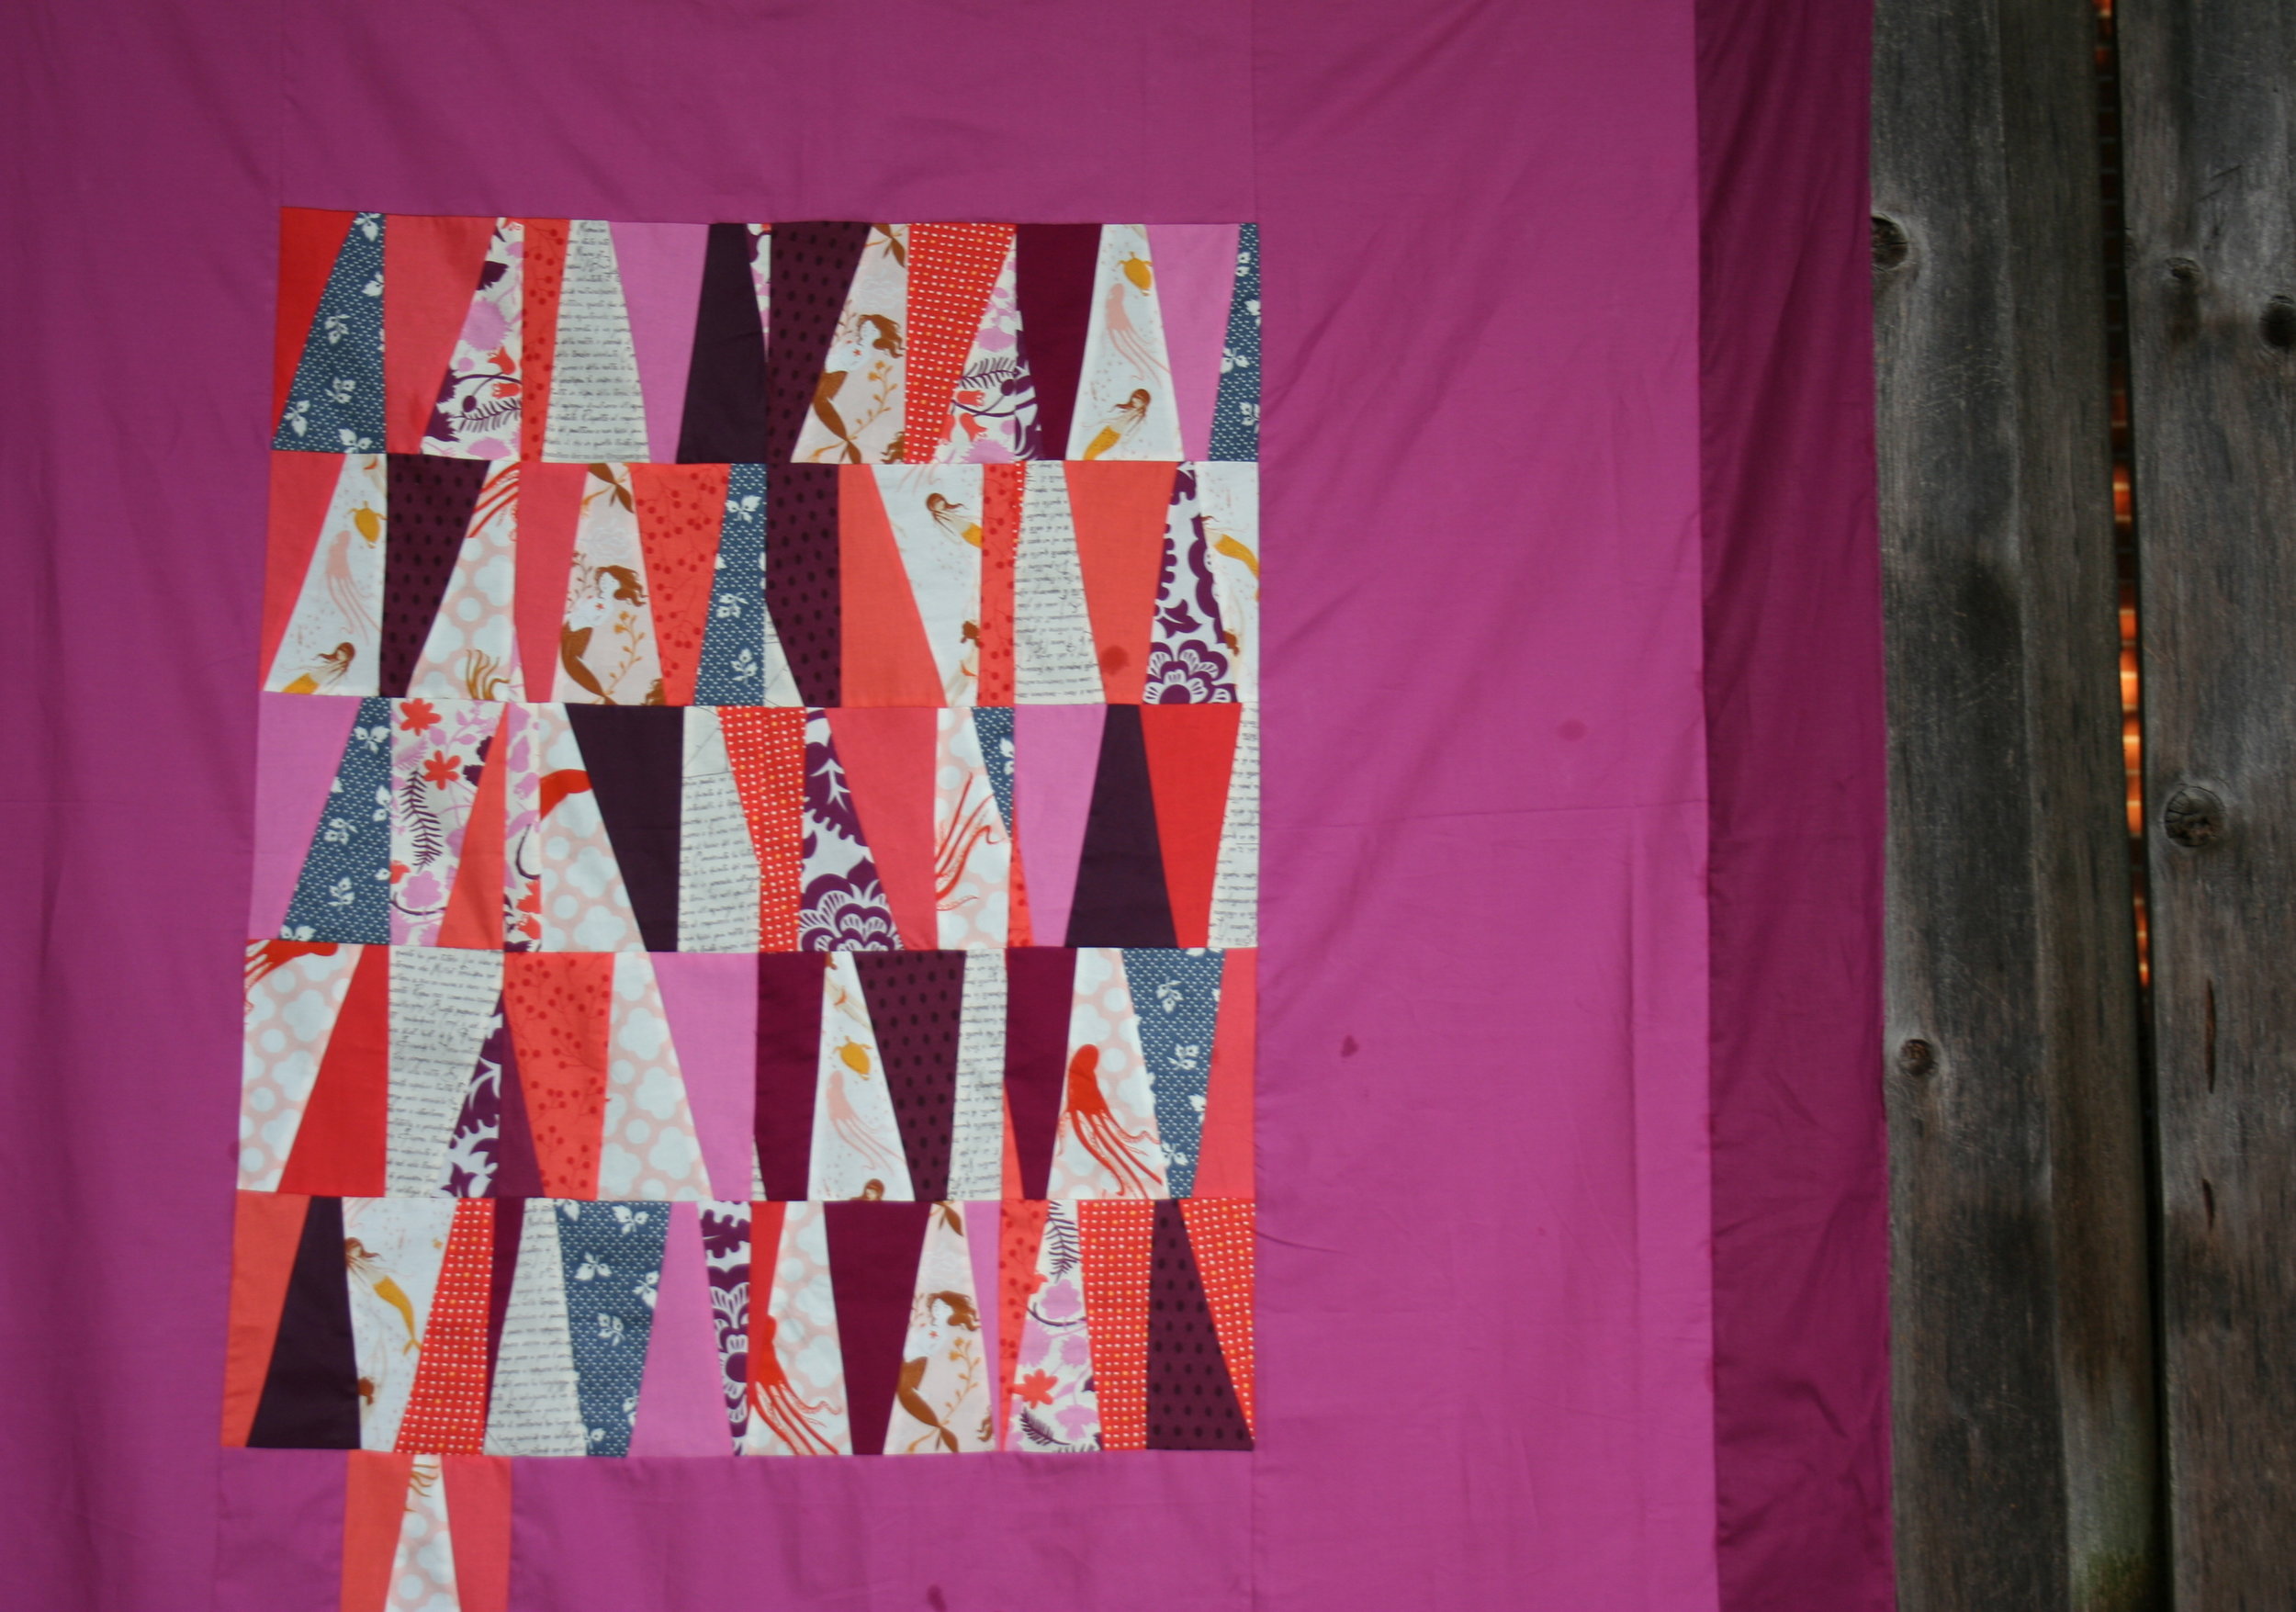
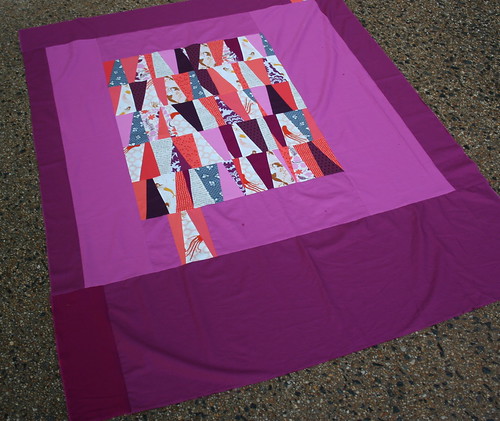
Note: I wanted my version to be bigger than that, and for the Dresden Squares to be slightly off center, so I kept adding borders until I was satisfied with it. I also used a few extra blocks in the outer borders of the quilt. **Note: 3.5 years later, I decided I did not want extra borders, so I chopped them off. You can see they are wavy in the picture above, and the proportions weren't great.