
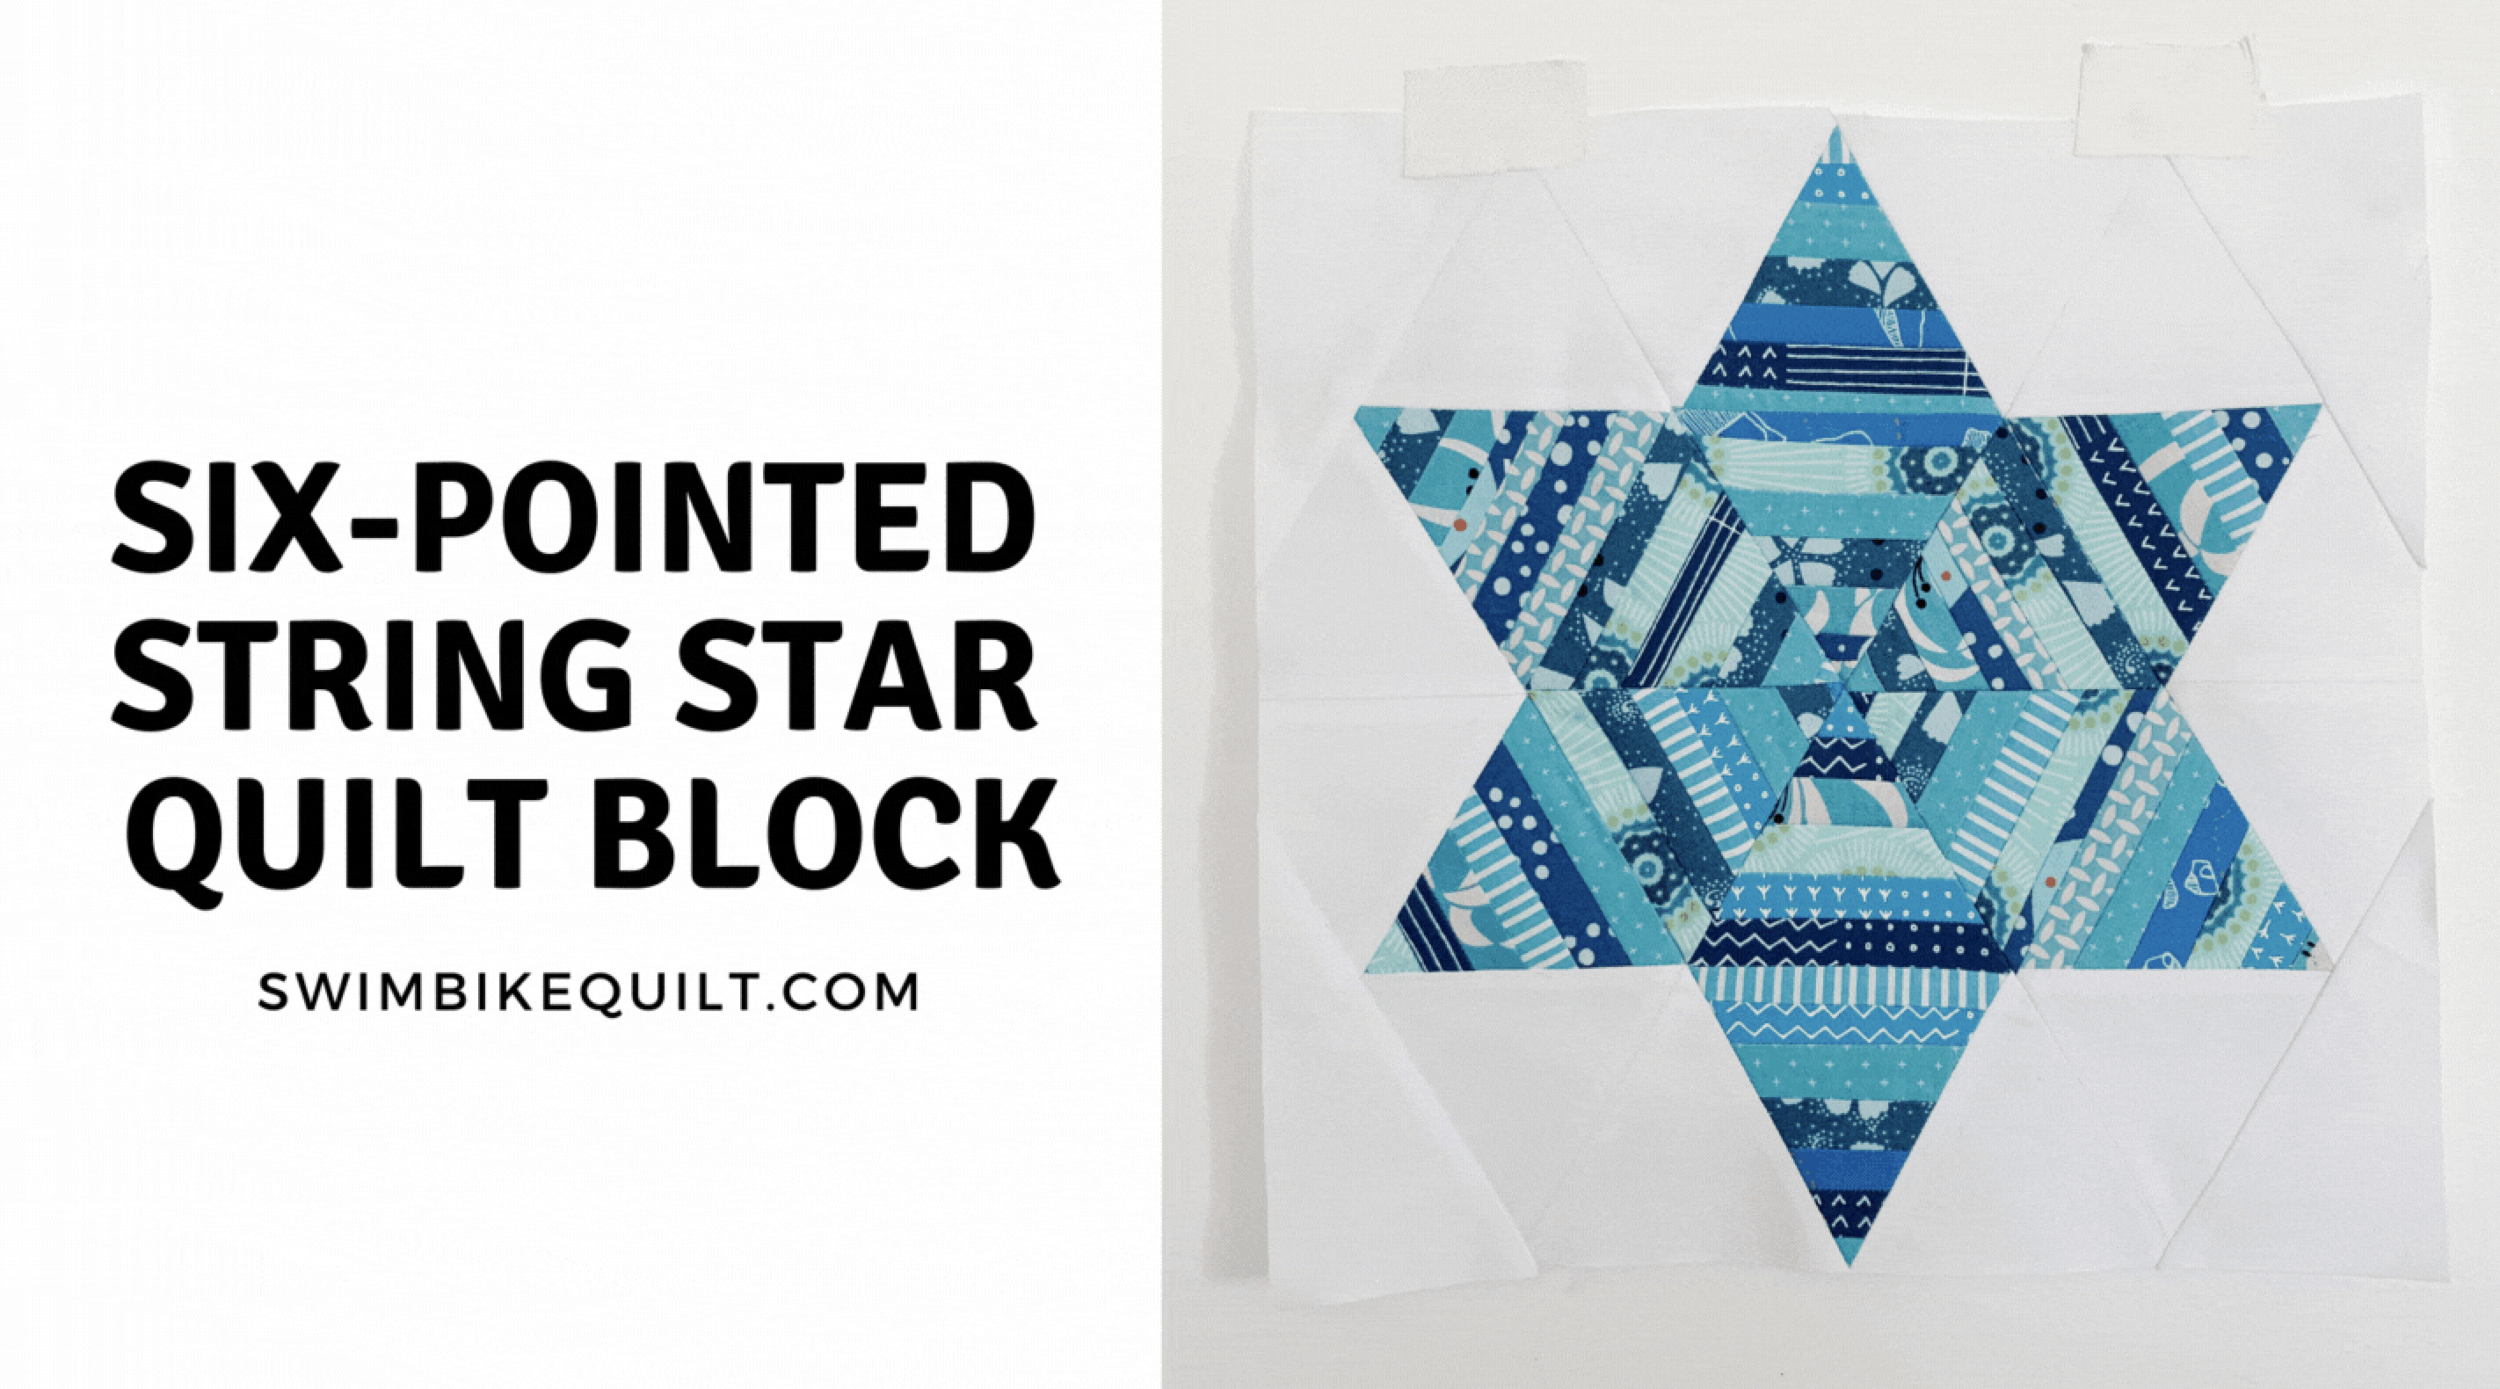
Free Six Pointed String Star Quilt Block Pattern--Block 7--Summer Sampler Turns 10
Welcome to to the seventh block for the Summer Sampler Turns 10 Quilt Along. If you are following along on Instagram, please tag us @swimbikequilt @lee.a.heinrich @freshlemonsquilts and use our hashtag #summersamplerturns10.
This week’s free block tutorial is the Six Pointed String Star Quilt Block, and it really is a choose-your-own-quilt adventure type of block.
First, decide whether you want to make a string star block, or use a single piece of fabric for each triangle.
If you choose to make string stars, decide whether you want to make them one (or four) at a time, or if you want to sew 30’’ strips together, and cut (12) feature triangles from the strip set. You can cut skinny strips (i.e. 1’’), equal width strips (1-1/2’’), wonky strips, varied width strips, or anything else you can think of. There are no wrong answers here, and I have multiple examples of finished blocks in this blog post!
If you enjoy learning via video, I put together an almost 20 minute video—link below.
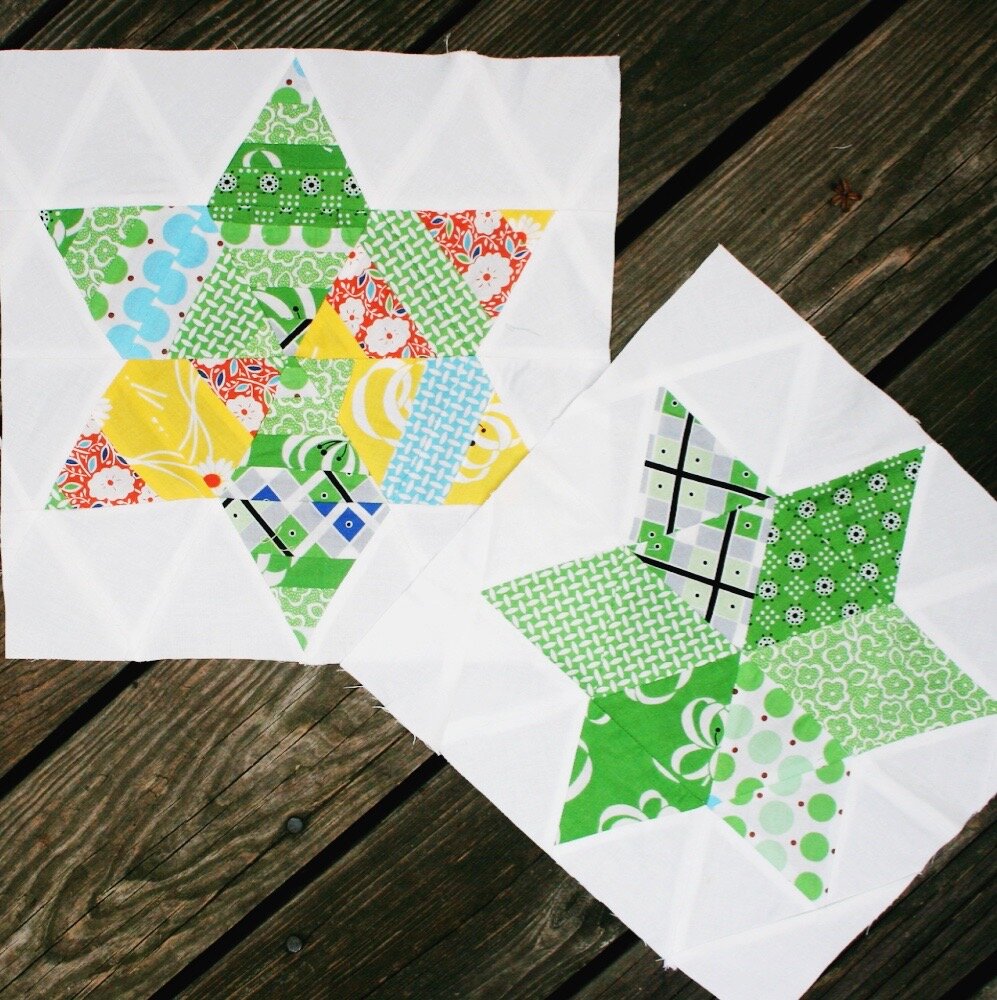
This week’s block is my Six Pointed String Star Block Tutorial. Both of the blocks in the green Katie Jump Rope fabric are from my original Summer Sampler Quilt, made in 2011.
Note: the 2011 tutorial has you cut and sew 24 background triangles, instead of 12. If you prefer that look, refer to the 2011 Tutorial via the link below.

When you make this block, here are a few ways to mix it up:
Use a dark background with lighter star points
Use a scrappy mix of prints in the same color (like the green Katie Jump Rope block above)
Use a scrappy mix of prints in different colors
Use solids instead of prints
Make it super scrappy and use 12 different solids/prints instead of six
Use skinny strips to make a string block (I used 1” strips on my blue string star, and I would cut the strips at least 1.5’’ wide if you don’t want to be sewing strips for days)
Cut wonky, angled strips, or sew the strips together at different angles
Use a combination of skinny and wide strips

Faith’s original Summer Sampler 6 Pointed String Quilt Block freshlemonsquilts.com
Tips Before You Sew
Use a scant 1/4’’ seam allowance throughout, and press seams open. There are a lot of seams in this block!
Optional: use starch
Don’t forget, these triangle sides are cut on the bias. Use pins when sewing the triangles together, and avoid manipulating the edges too much when you sew.
Pay attention to the orientation of the first triangle in each row—if you start with the triangle in the wrong position, the whole row will be off

SIX POINTED STAR BLOCK TUTORIAL
Download the templates at the link below.
If you want to draw your own template, the triangle is an equilateral triangle with a height of 3-1/2’’ inches, and has (3) 60 degree angles. Alternately, you can use an equilateral triangle ruler or a 60 degree diamond ruler [I used this one in the video] instead of a template to cut your triangles. I used a Hex n More ruler to cut some of my triangles below, and I used the ruler to trim all of the corners. If you prefer, here is a 3-1/2’’ equilateral triangle template with untrimmed points.


Cutting List
(12) medium blue feature triangles
(12) light blue background triangles
(1) medium blue triangle for Templates A, B, C, and D— OR cut (4) 3-1/2’’ x 8-1/2’’ rectangles for the side “triangles”
Tip: If you are cutting multiple triangles from the same print/solid, cut a strip of fabric 3-1/2’’ x width of fabric. Use a template or ruler to cut multiple triangles, lining your template/ruler up as shown above, and flip the ruler over for each triangle. The white fabric above is the background fabric for the string block.


Sew the triangles together in horizontal rows. Place the first two triangles right sides together, pin, and sew along the edge as shown. Press seams open or to one side.

2. Take your third triangle and place right sides together along edge of the second triangle. Pin, and sew along the edge. Press triangle open or to one side, and continue until you have pieced the entire row of triangles.
3. Repeat this for rows 2, 3, and 4.

4. Place rows 1 and 2, right sides together. Pin through each seam where the triangle points meet up--I stick a pin straight through the point at the top of the triangle through both layers of fabric, and then pin. This will help you to sew more precisely just above the top of the triangles.
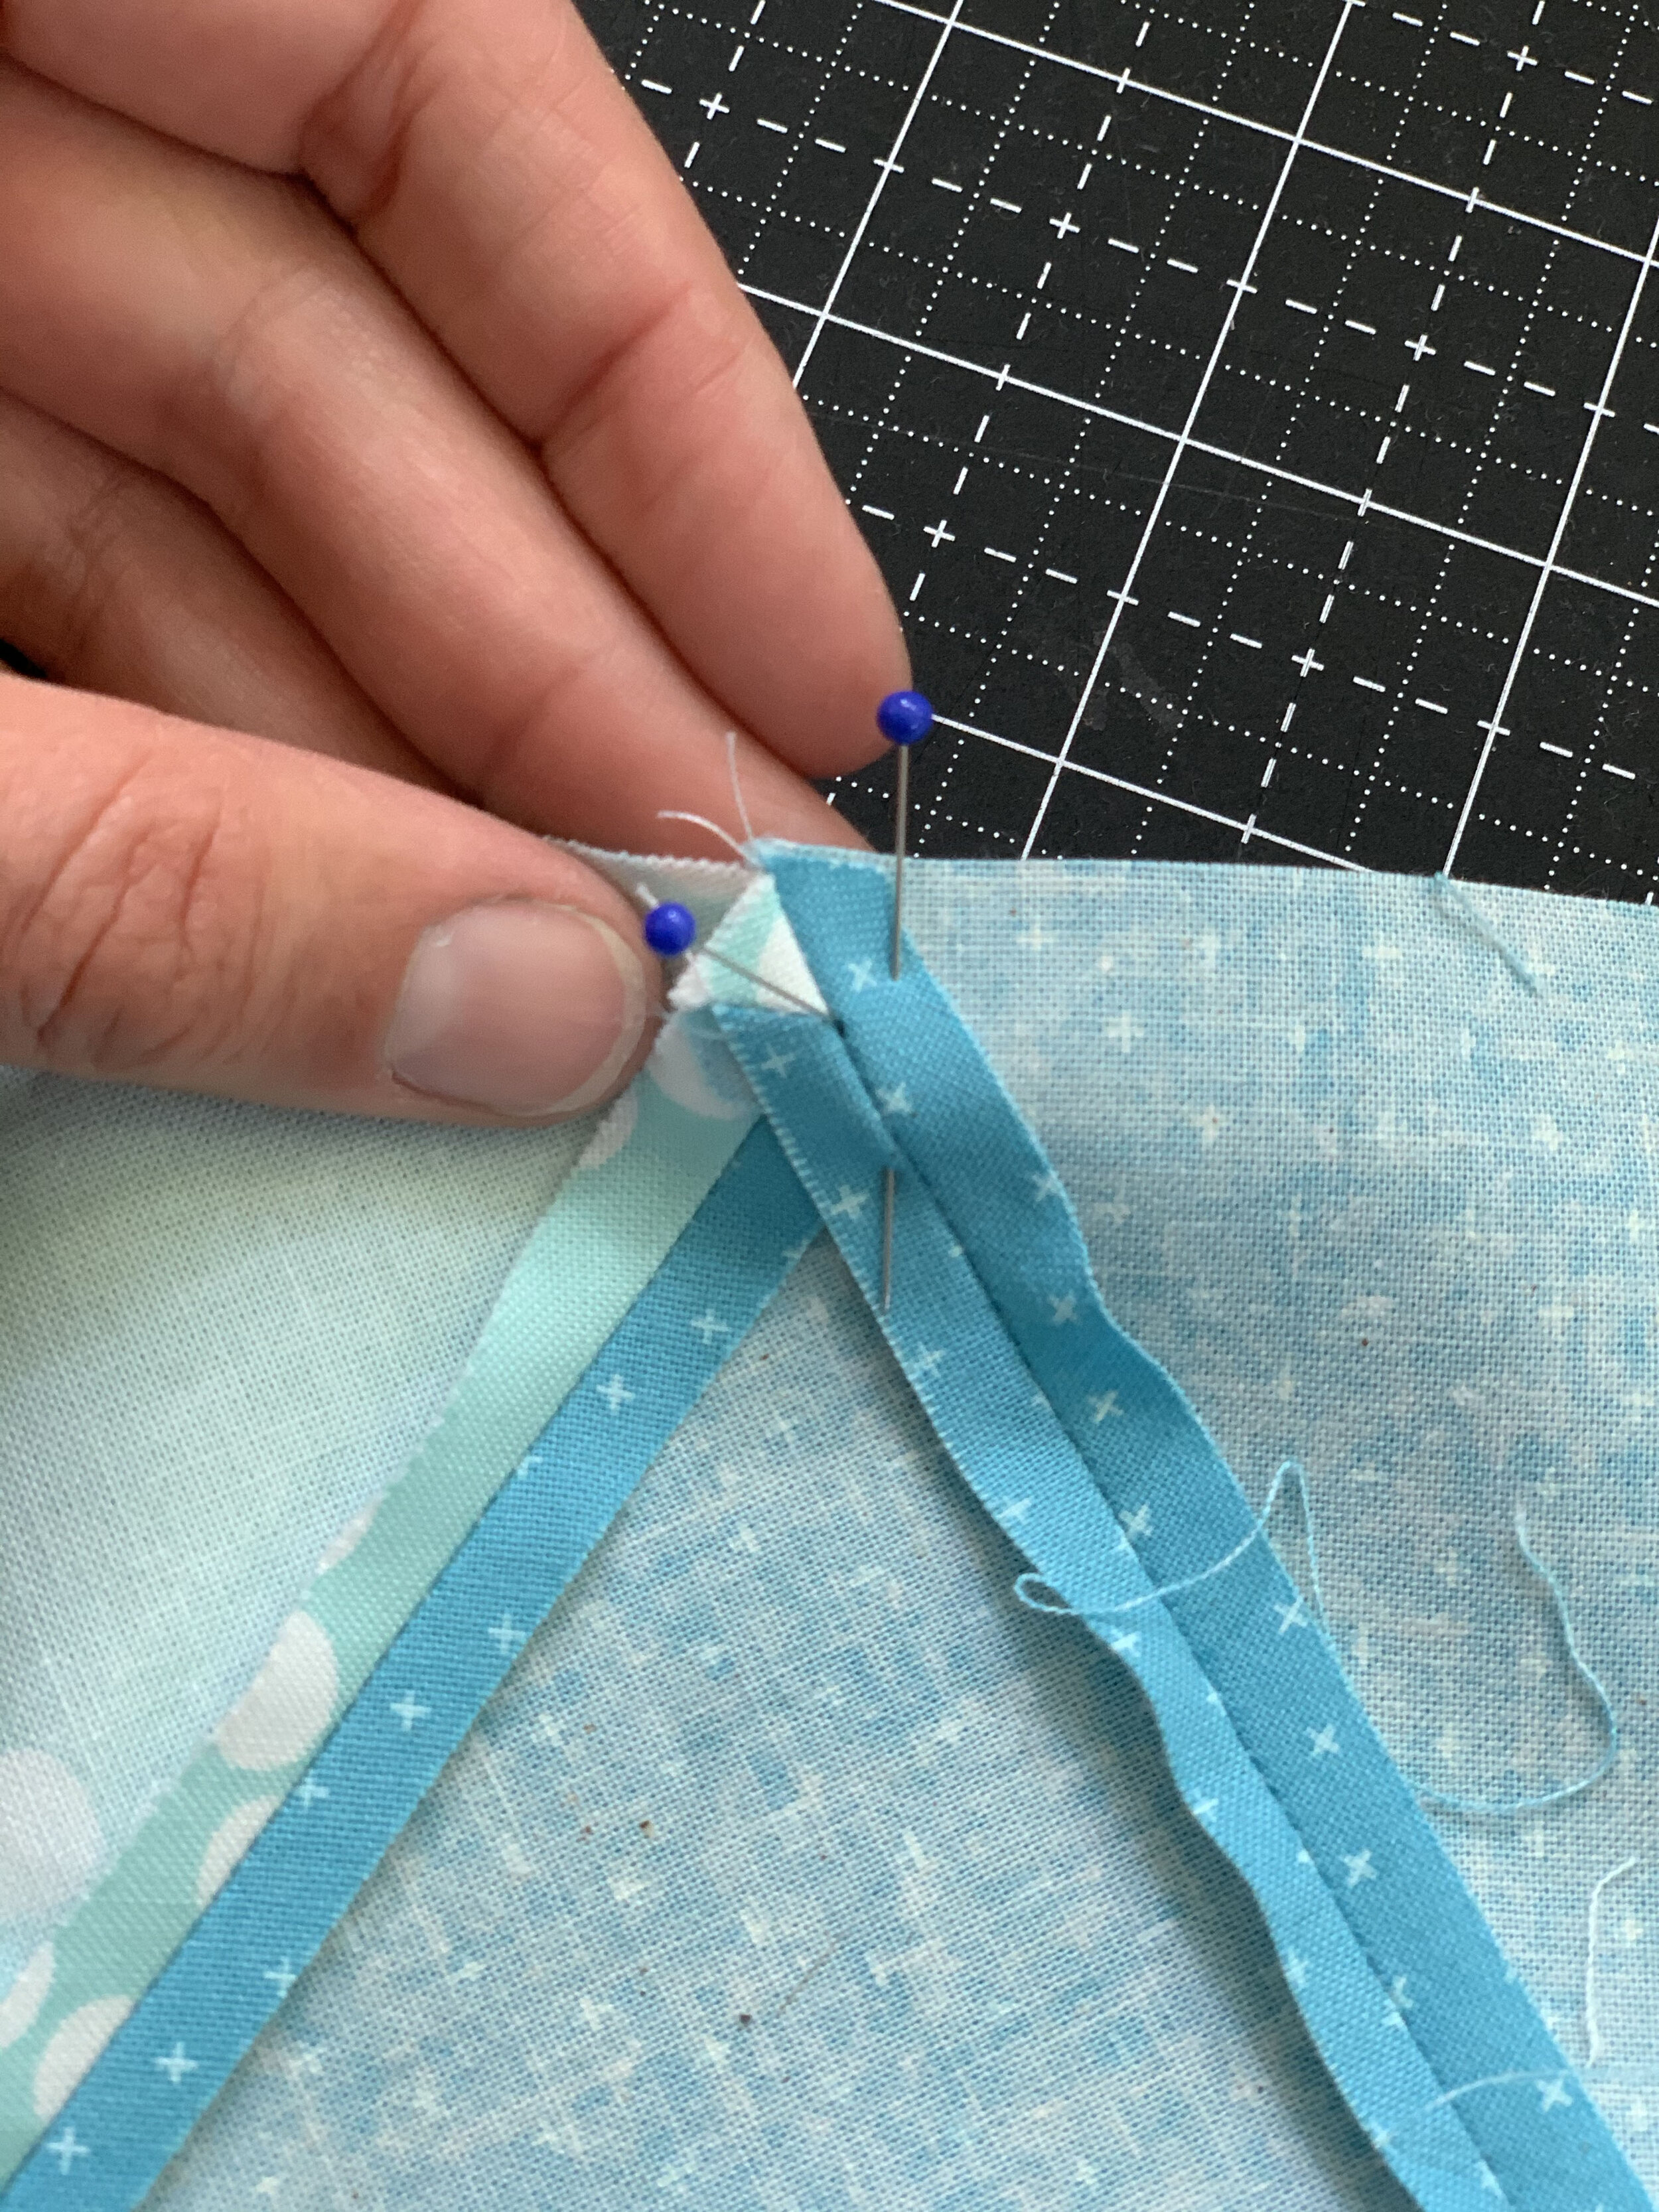
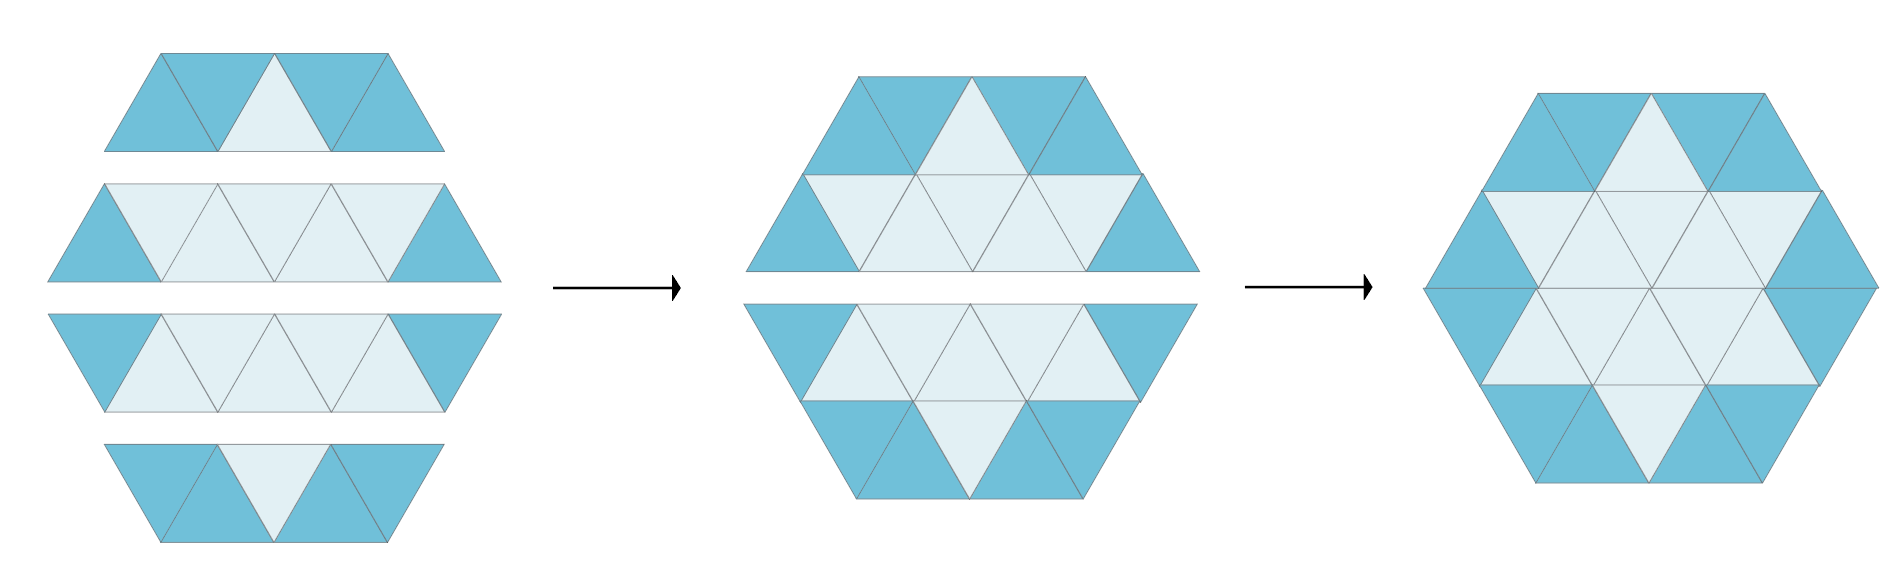
5. Repeat with rows 3 and 4, taking care to pin and press.
6. Sew both halves of the star together, taking care to pin and press.

7. Lay out the sewn star-hexagon, and sew the triangles cut from Templates A, B, C, and D to the sides, as shown below. The triangles are cut generously; you will need to trim the block to 12-1/2’’ x 12-1/2’’ after sewing them on. I sewed the top right triangle first, bottom right triangle second, and repeated in the same order for the left side. If you prefer, you can use a 3-1/2’’ x 8-1/2’’ rectangle in the place of each side triangle.


8. Trim your Six Pointed Star Block to 12-1/2’’ x 12-1/2’’. Note: Make sure that the center of your star is in the center of your block when you trim—I love this 12-1/2’’ Creative Grids ruler for trimming blocks!


Scrappy String Method
1 . Choose what width and length to cut the strings—if you want to sew (1) set of strips for each triangle, make sure the base strip is at least 5-1/2’’. If you want to strip piece for all (12) triangles, make sure the strips are 30’’.
The basic steps are the same as for the single-fabric-triangle Six Pointed Star.

I cut mine at 1’’— I love the look, and it takes a long time to sew the strings for (12) triangles. You will need 3-8 strings for each of the (12) feature triangles—this is the perfect use for scraps.


2. Piece the strings together, be sure to press strings to one side, or open.
If you want super scrappy triangles, then make them one at a time, and cut the longest strips (for the base) at about 5-1/2’’. If you want more uniform blocks, cut strips that are 30’’ long, and then subcut the triangles (diagram below).


3. Use the equilateral triangle template (or an equilateral triangle ruler) to cut triangles from your sewn strings.
4. Layout your blocks as shown below, and follow steps 1-8 above to sew the block together.


The original 2011 quilt along was based on blocks that we found in Barbara Brackman’s Encyclopedia of Pieced Quilt Patterns, which soon after became almost impossible to find. Good news: if you are interested in Brackman’s Encyclopedia, which included 4,000+ blocks, you can find an updated version here.

SUMMER SAMPLER SERIES BLOCK TUTORIALS
2011 TUTORIALS AND 2021 #SUMMERSAMPLERTURNS10

BLOCK 1: STAR OF VIRGINIA
Original post here
Re-released Tutorial
By Katie

BLOCK 2: GREEK CROSS

BLOCK 3: MOSAIC
Original post here
Re-release on March 3, 2021
Tutorial by Lee

BLOCK 4: FLOWER GARDEN PATH
Original post here
Re-release on March 10, 2021
Tutorial by Katie

BLOCK 5: STAR
Original post here
Re-release on March 17, 2021
Tutorial by Faith

BLOCK 6: ARKANSAS TRAVELER
Original post here
Re-release on March 24, 2021
Tutorial by Lee
BLOCK 7: SIX-POINTED STRING STAR
Original post here
Re-release on March 31, 2021 [you are here]
Tutorial by Katie
BLOCK 8: LUCKY PIECES
Original post here
Re-release on April 7, 2021
Tutorial by Faith
BLOCK 9: MINNESOTA
Original post here
Re-release on April 14, 2021
Tutorial by Lee
BLOCK 10: EVENING STAR
Original post here
Re-release on April 21, 2021
Tutorial by Katie
BLOCK 11: ROCKY ROAD TO KANSAS
Original post here
Re-release on April 28, 2021
Tutorial by Faith
BLOCK 12: KANSAS DUST STORM
Original post here
Re-release on May 5, 2021
Tutorial by Lee