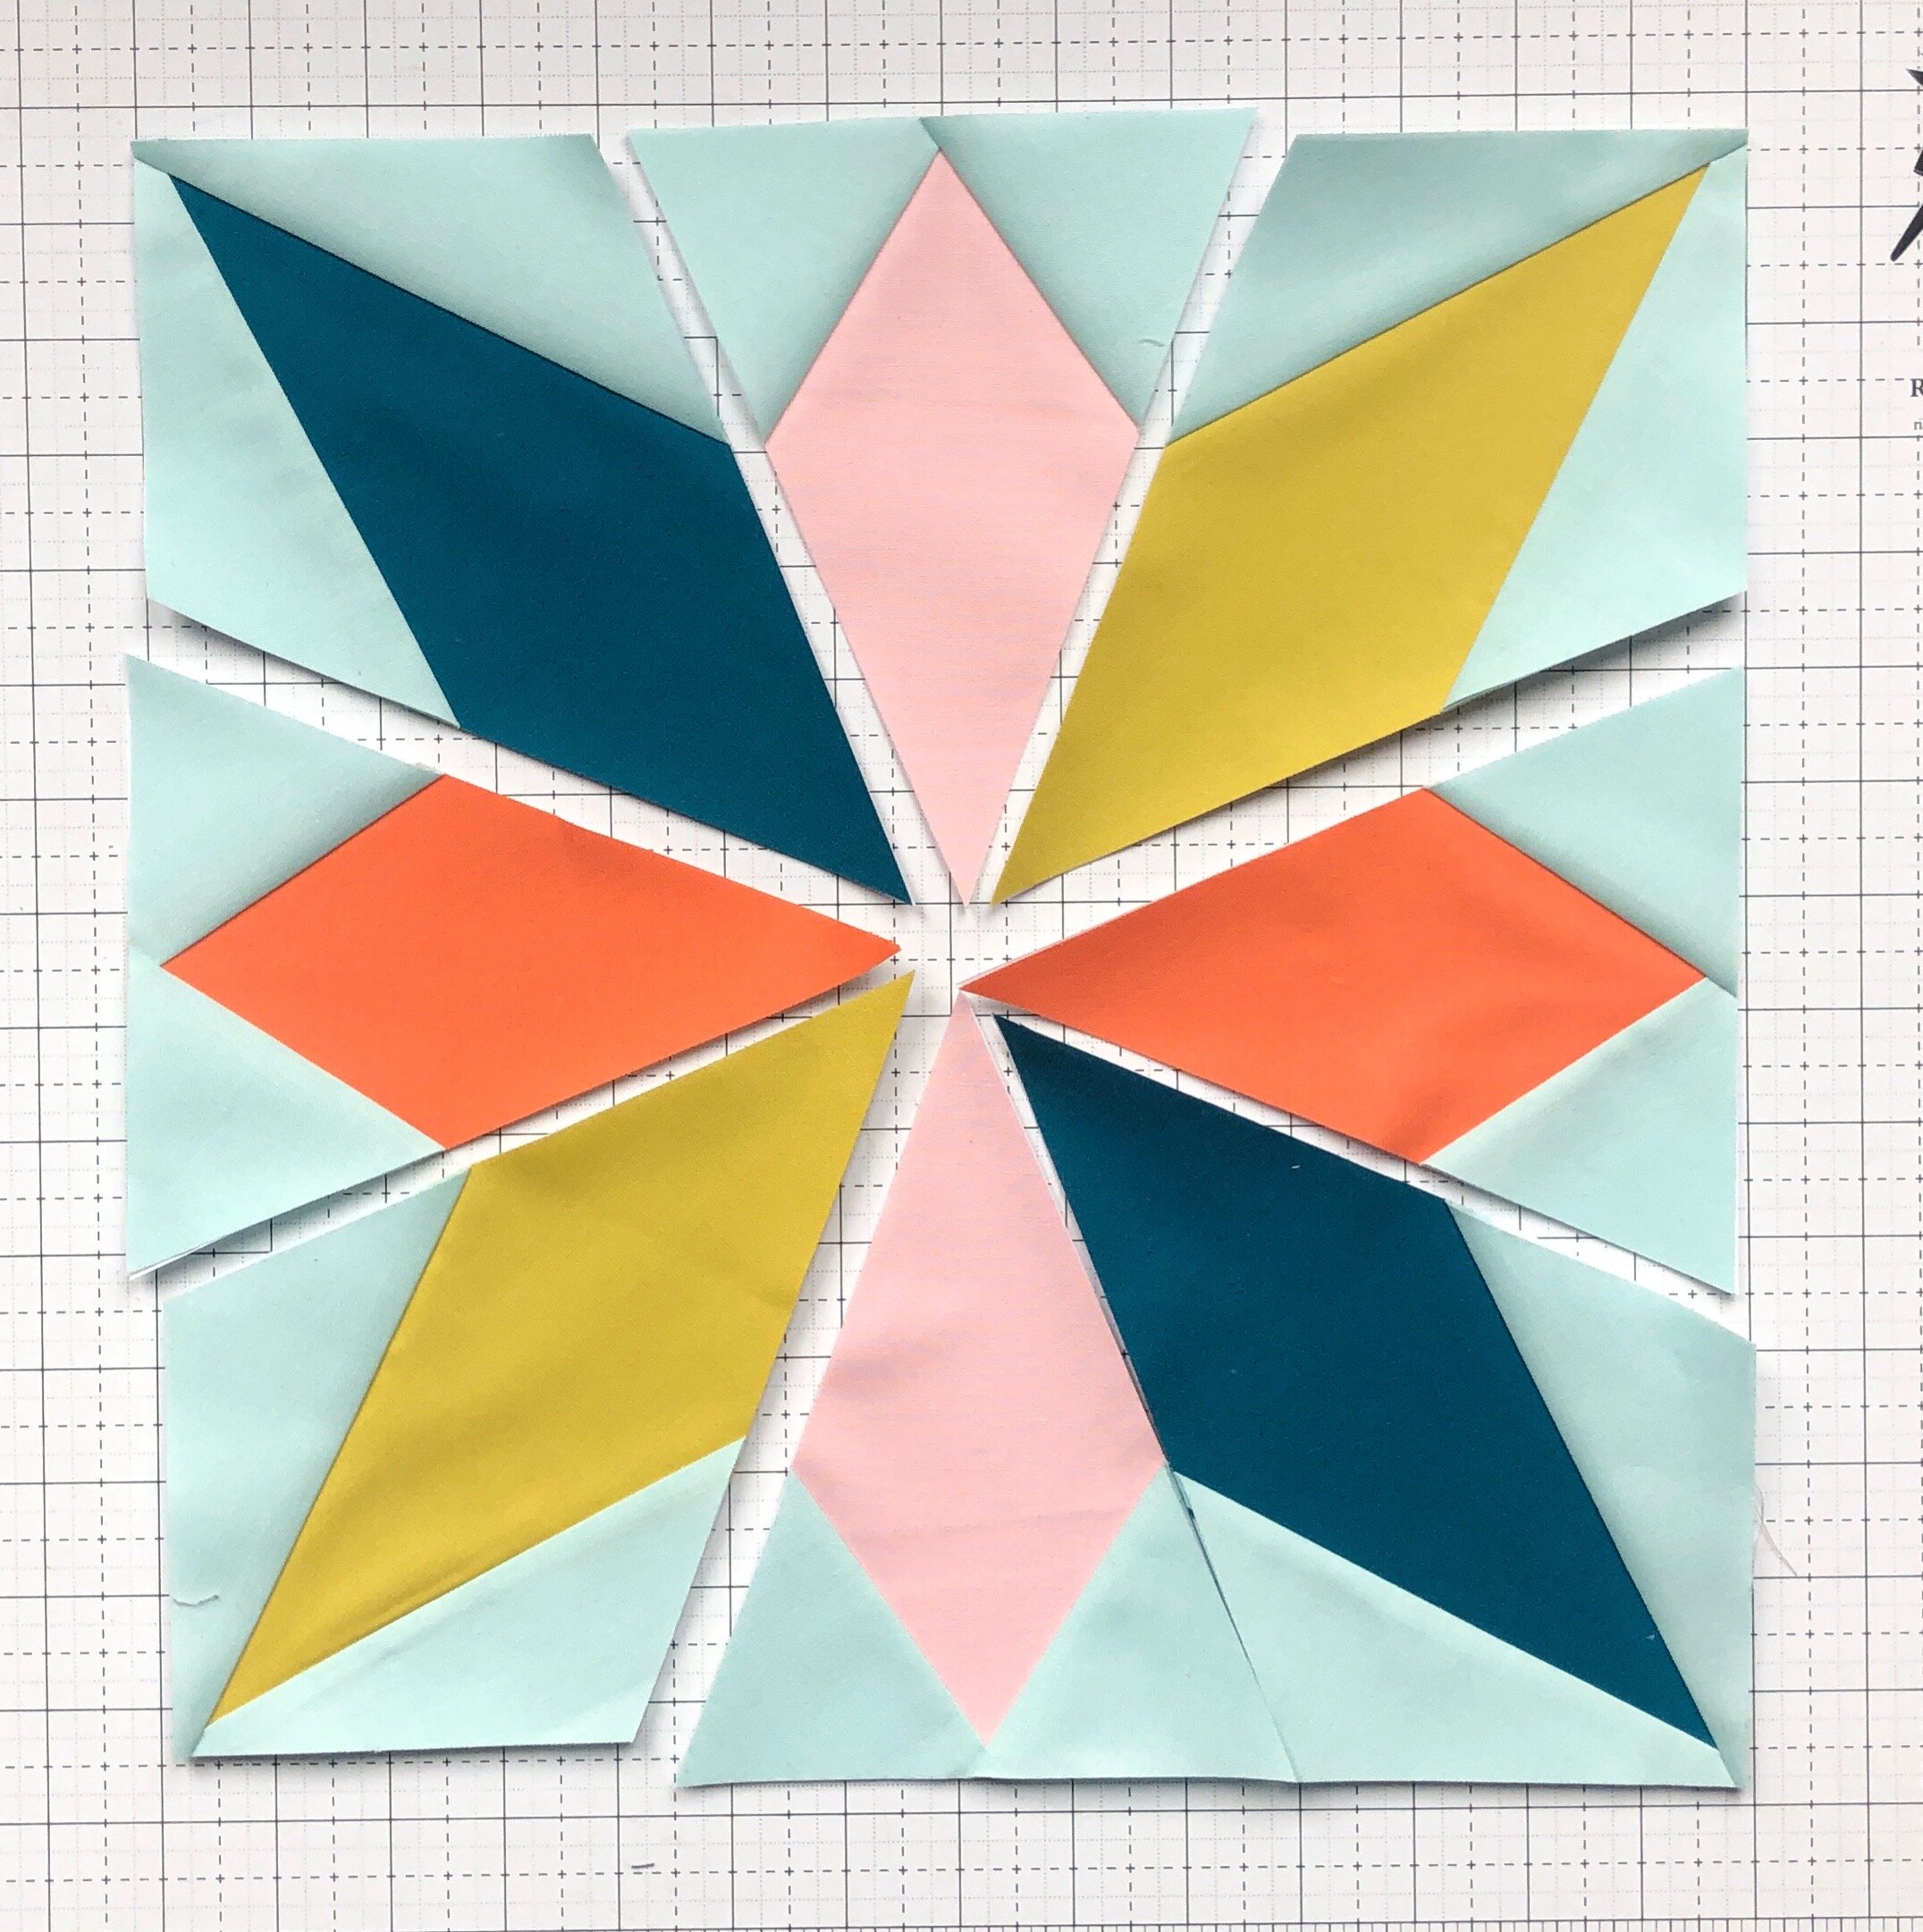
3 Paper Piecing Tips // Paper Chain Block of the Month
I’m so excited to have launched the Paper Chain 2020 Block of the Month with Faith Jones and Lee Heinrich. We are excited to have a slower paced quilt along (our annual Summer Sampler Quilt Alongs are a block a week for 12-21 weeks, depending on the year).
Interested in joining along? You can find more about the sampler (and the pattern) here.
Today I want to share 3 Paper Piecing Tips with you. But first: did you know that my sewing room floor is the same color as Kona Everglade? Now you do! [quilt kits here]
Tip #1: Follow Lee Heinrich’s Tip: i.e. Trim, then Fold, for Best Results
The first is the best—its a tip Lee Heinrich shared (go read this first).
Welcome back. Lee suggests trimming your block before you paper piece the next step, and folding back the paper to make sure that the new piece of fabric you are placing is at the right angle. I didn’t do a step by step here because she has already done it! Lee also has a video, here, if that’s more your style.
I have trouble visualizing the geometry of different angles when I’m paper piecing. Thanks to Lee’s tip, I carefully (this is key) fold back the paper for the next paper piecing step, and trim a 1/4’’ from the edge.
While the paper is still folded back, I add the next piece of fabric (the light blue) along the cut edge. Then, I simply fold the paper back into place, and sew along the line.
TIP #2: Pay Attention
This one is probably obvious, but it is something I have struggled with for years. Be careful. Actually, take your time and sew along the line, taking special care to sew along the line when you are near an intersection, or where the line intersects the seam allowance. Paper piecing is only as accurate as you are. And I’ve done a lot of “speed” paper piecing over the years.
Tip #3: Sew the Center Seam First
When sewing paper piecing sections together, especially when you have a number of seams to match up (this one has 8!!!) I like to pin an inch before the center seam, match the center seams to the best of my ability, pin, and pin an inch after the center seam. I then sew the center seam together. After, I open it up, and if I’m satisfied with the seam, I pin and sew the rest of the block. This way, if I need to unpick something, its only a portion of the center seam; I also find that things an shift a bit when sewing a long seam.
Happy paper piecing.
Looking for some paper piecing tutorials?
Check these out.
Lee’s “Never Tear Out Paper Piecing Stitches Again” Video
Faith’s “How to Foundation Paper Piece” Video
Kristi’s “Paper Piecing 101 Video”


